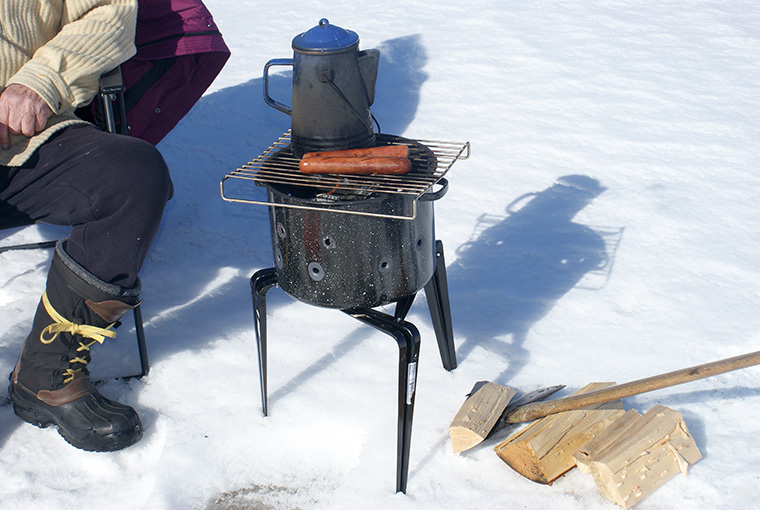
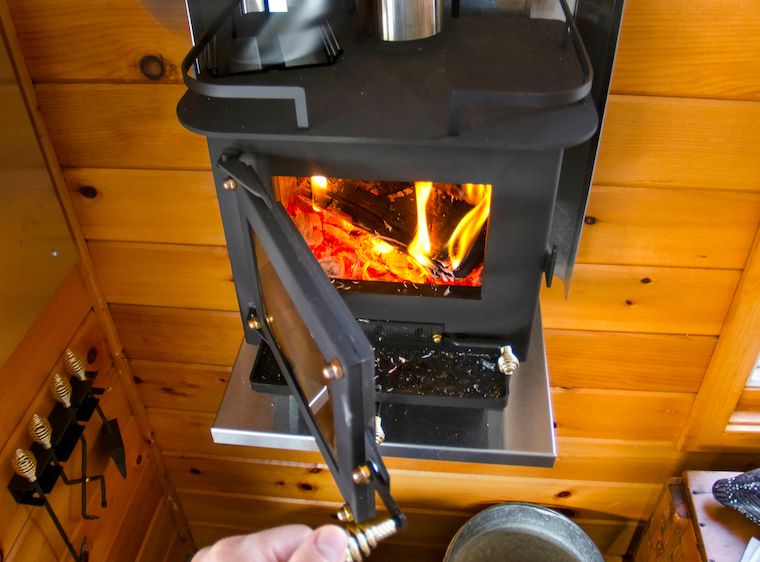
When I was a kid, we’d build a fire on the ice from wood gathered from the shoreline. Dad frowned on the unsightly floating remnants that washed up on the beaches in the spring so he made this stove to contain the mess. We had a cozy little wood fire to warm our hands, boil a pot of tea, and heat up a pot of beans at lunch time.
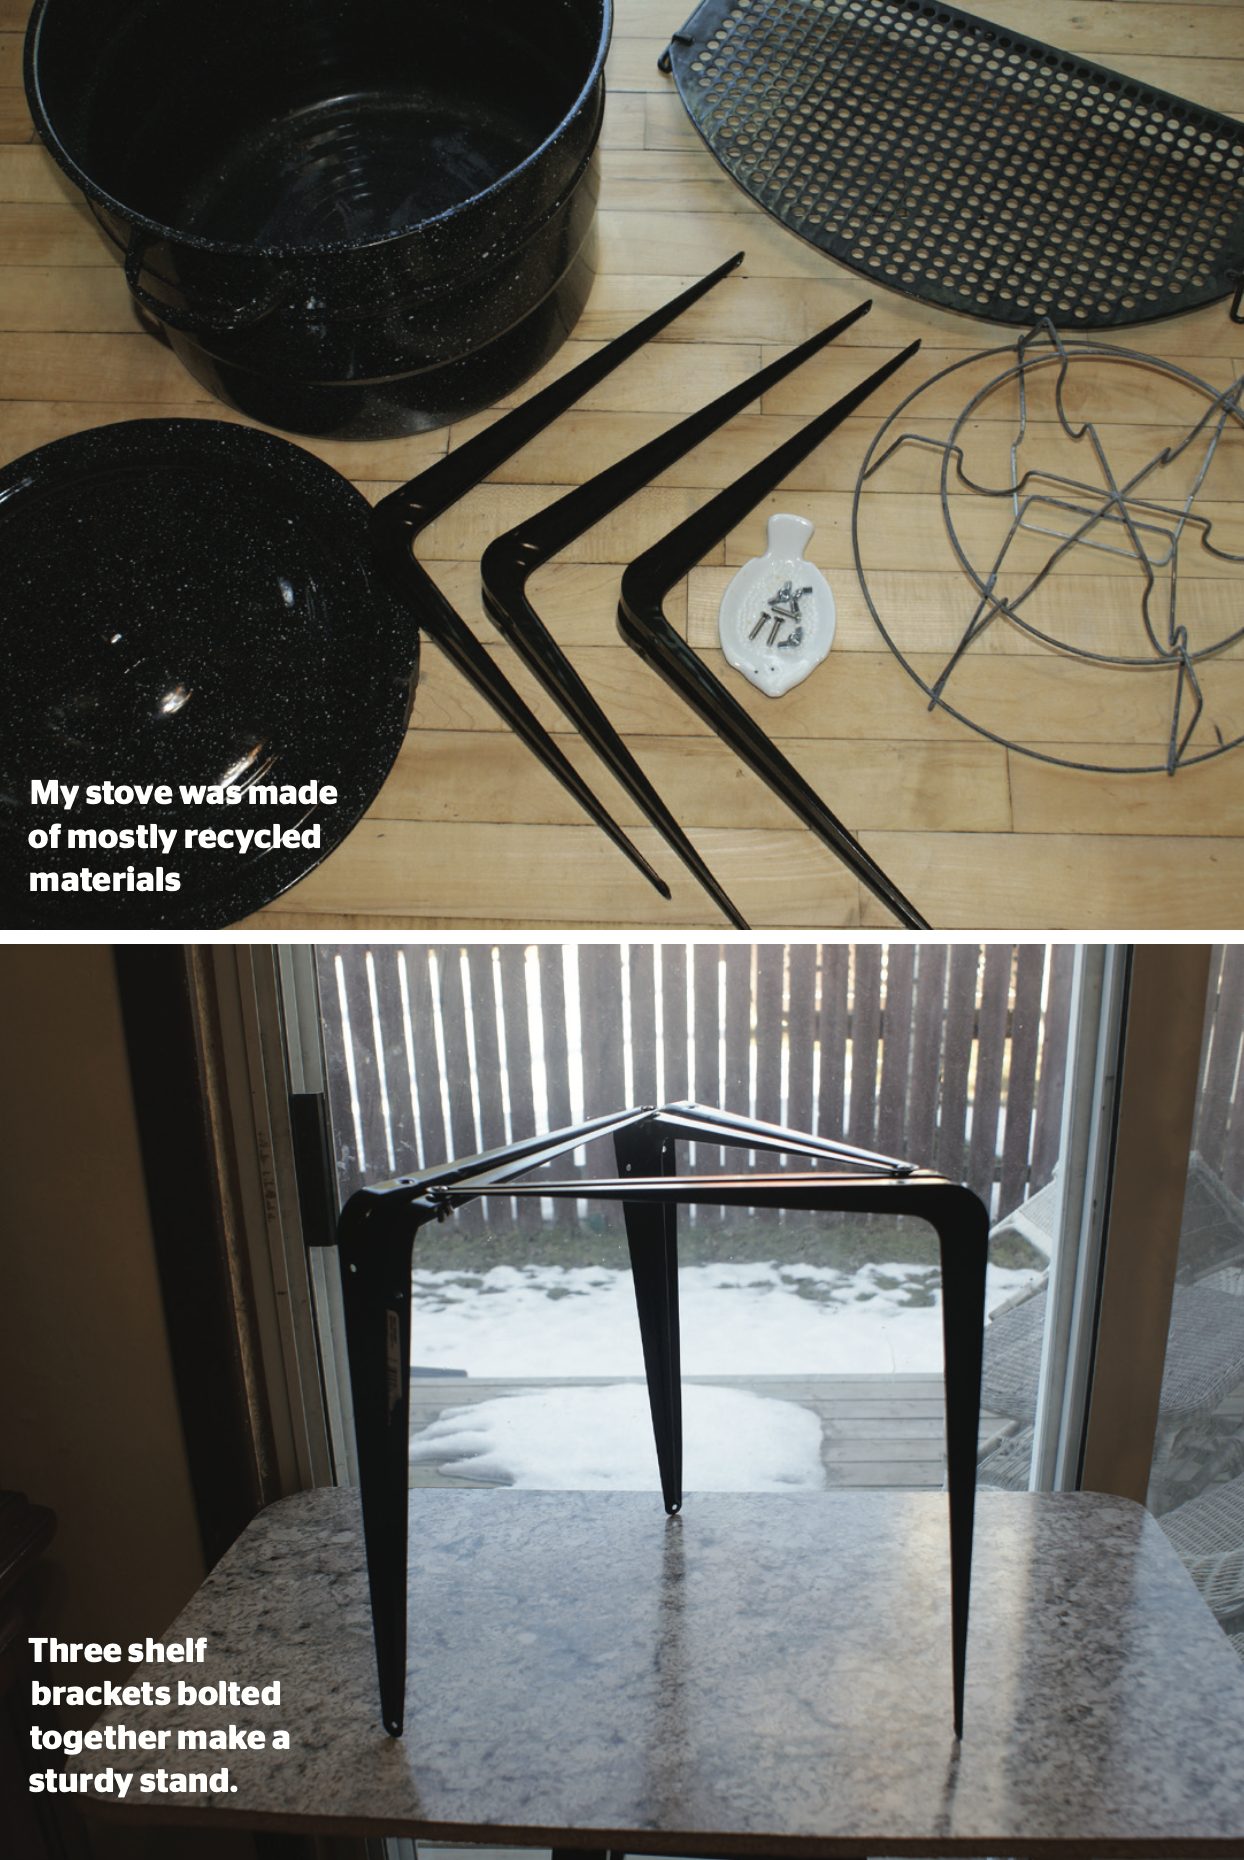
Materials
- A medium-to-large water-bath canning kettle (the enameled type. Dents, holes, and chipped enamel are no problem at all).
- Three inexpensive 12 x 14-inch metal shelf brackets — the plain kind you mount on a wall and place a board on for an instant bookshelf. Black ones are easier to see in the snow.
- Three small threaded bolts and wing nuts. Make sure the bolts fit snugly into the factory-drilled holes on the shelf brackets.
Build it
Step 1: Drill evenly-spaced holes around the sides of the pot to allow oxygen into the stove. The more holes there are and the bigger they are, the faster the fire will burn. Wear safety glasses when drilling. Grind or file off rough hole edges.
Step 2: Assemble the stove legs, or stand, as shown in the photo. With the long sides down and the shorter sides on top, the pieces will form a sturdy triangle. Insert the bolts into the aligned holes and secure them in place with the wingnuts. The legs are easy to put together and take apart, which is handy for packing and storing.
Step 3: If the canner came with its jar rack, you can use it as a grate in the bottom of the stove to improve air circulation. If your pot didn’t, you’ll have to hunt down a suitable substitute, such as a stovetop grate from an old propane or gas stove. I found mine at the salvage swap shop.
Step 4: Find a grilling rack that fits over the pot. Anything that’s food safe from an old barbecue or stove should work. Make sure it is sturdy enough to support your teapot.
Step 5: Measure your pot and cut firewood that fits into it. Before heading to the lake, tuck newspaper, kindling, and wood into the stove. Put the lid on the pot to keep the wood dry and you’re good to go. We take along a few extra blocks and the axe just in case we stay longer than expected.
How to pack it
At the end of the fishing day, let your fire burn out and the pot to cool. Dampen the ashes with snow to keep dust down. I transport my stove in the back of the truck, but if you must tote it in your vehicle, place it in a garbage bag or box. If the frozen path up to the road from the lake is slippery with ice, you can sprinkle some ashes from the pot for traction.
Originally published in the Nov.-Dec. 2021 issue of Ontario OUT of DOORS
Leave A Comment