Tired of snapping off rod tips and guides? Here’s a $20 solution to keep your rods in mint condition for years to come.
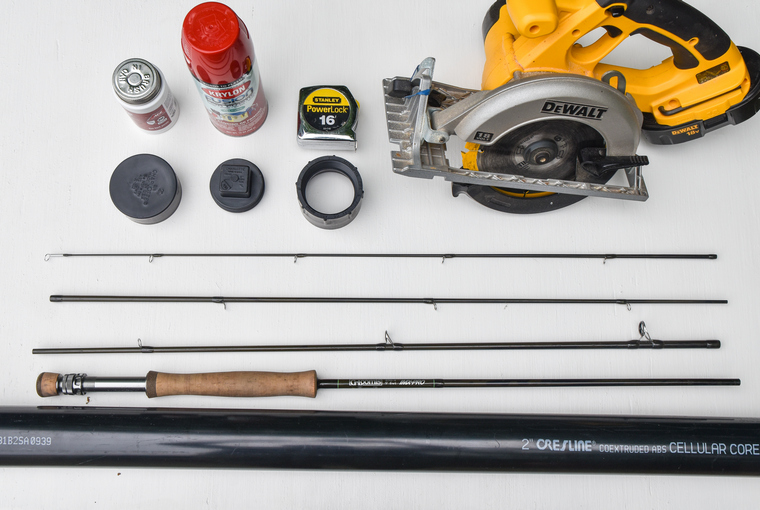
What you need
• A saw (or pipe-cutting wrench)
• ABS-specific solvent cement (glue) ($2-4)
• ABS pipe with a diameter that suits your needs ($5-15)
• 1 closed endcap ($2)
• 1 open female-threaded endcap ($2)
• 1 male-threaded end plug ($1)
• Open- or closed-cell foam
• Optional: Para-cord, silicone caulking, spray-paint
The primary material for the rod tube is ABS pipe. Its durability and low weight make it perfectly suited for the job. First, measure the length of your rod. Many rods break down into sections, and I like to store mine broken down so they take up less space.
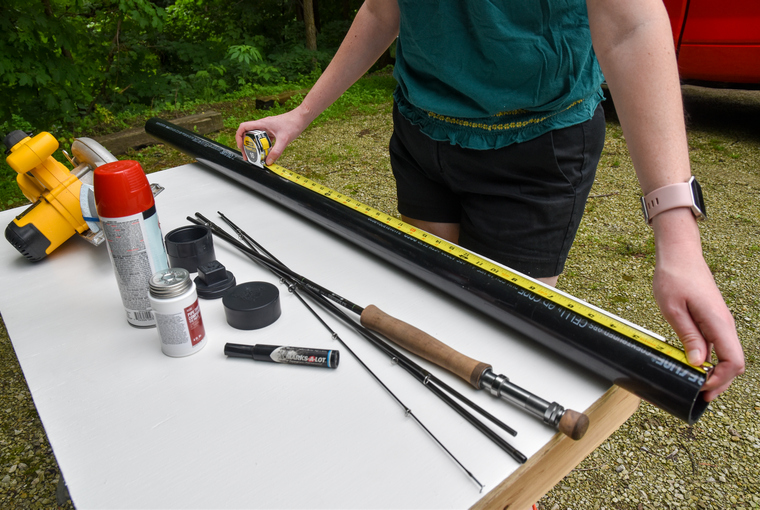
Once you have a measurement, buy a piece of pipe that accommodates the length. If the pipe is long, cut the excess with a saw (a pipe-cutting wrench also works well). The rest is easy. Make sure the pipe is clean and glue the endcaps to both ends. Once they are dry, cut a round piece of foam and insert it into either end of the tube for cushioning. Mine came from the foam padding in a mail-order package.
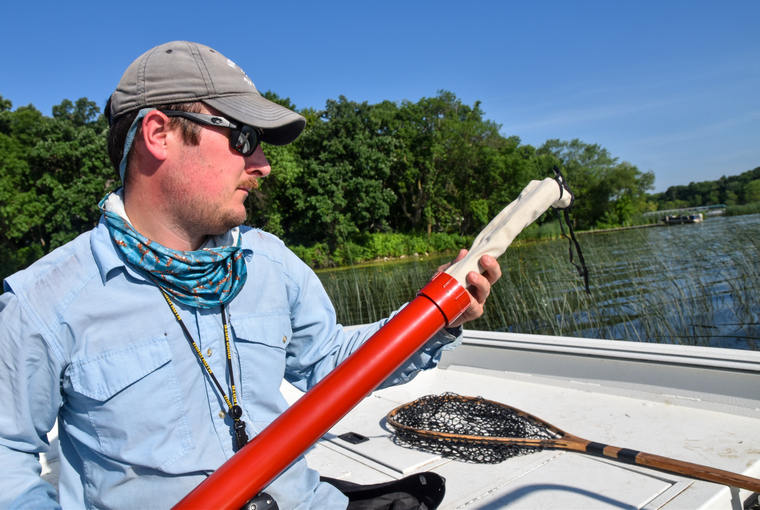
I used a 2-inch diameter pipe for a single fly rod, and a 4-inch pipe to hold several 2-piece spinning and baitcasting rods. I like to spray-paint the tubes.
At this point, you are either done or can continue with a few customizations. I added a handle by braiding para-cord, drilling two small holes, and attaching it with a knot on the inside of the pipe (there are many online instructional videos that demonstrate how to braid para-cord). If you add a handle, seal the holes with silicone caulking, for a waterproof setup. With a marker, label the top of the tube so you know what rods are inside. Since making my rod tube four years ago, I’ve had no issues keeping my rods safe.
Originally published in the 2020 Fishing Annual issue of Ontario OUT of DOORS


Leave A Comment