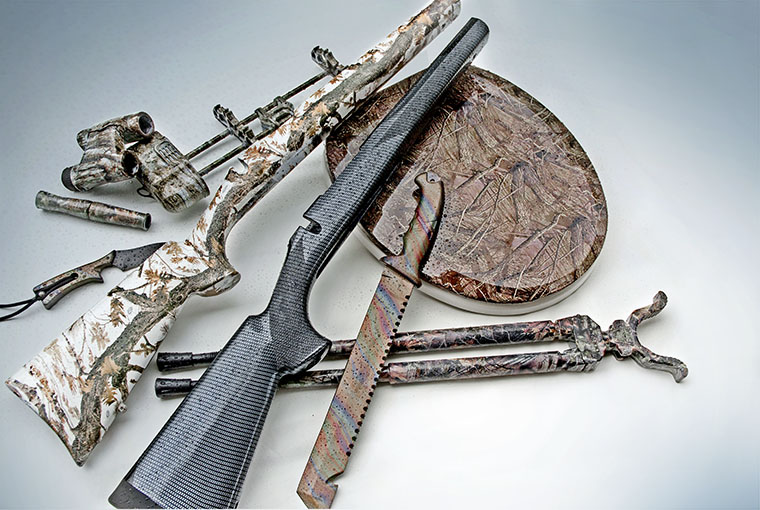
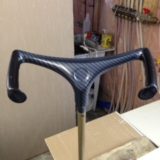
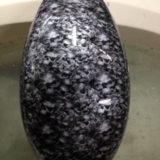
After: The carbon fibre gun stock and toilet seat were redone by Waterz Edge Hydrographics. The rest are my DIYs.

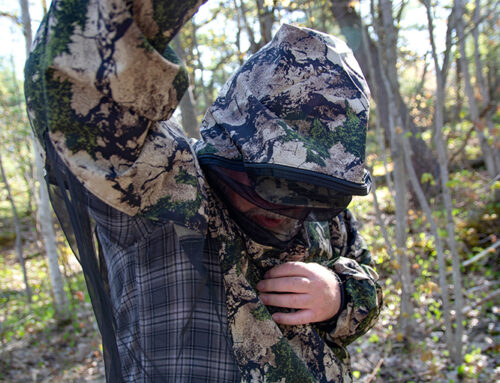
Hydrographics, also called water-transfer printing, is how gun manufacturers (and many others) achieve that awesome camo look. While it’s not something you can slap on in your garage in a spare hour, this do-it-yourself project can be highly rewarding, and may well have you coming back for more.
What to dip
Choose products that are simple in shape; a one-piece gun stock is perfect. Almost any hard, non-flexible material will work: glass, wood, metal, ceramic, or plastic. Don’t dip fabrics, rubber, or flexible surfaces you wouldn’t normally paint.
The basic process involves dissolving a special patterned film on the surface of water. As an object is immersed in the water, the film is drawn down and wrapped around it, forming a permanent chemical bond. Done right, it’s a durable, highly-detailed finish.
Here’s what you need to know to get started.
I ordered the film, paint, and activator from Emerald Coatings (emeraldcoating.com), based in Palmerston. The service was great.
DIY materials:
- Compressor and paint spray gun
- Good quality paint and primer in one. I sed One Hit Wonder (starts at $22 per 8 oz.)
- Bins to hold water
- Hydrographics activator ($48 per quart)
- Hydrographic films (about $16 per square metre)
- Gloves and mask
- Clean, dry, vented area to spray and hang items
- Thin wire for hanging
- Small paintbrush for touch-ups
- Automative clear coat (I paid $32 for 32 oz. can at www.amazon.ca)
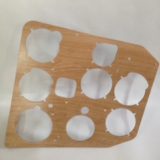
1) Set up in a clean, ventilated area. Degrease products, rinse, and let dry. Use masking tape to cover areas that you don’t want coated.
2) Apply a base coat paint using a sprayer. This colour will be seen under your pattern. A thin coat or two should do. Let it dry.
3) Cut film to desired size. The sticky side of the film will face the water. (Test this by wetting your finger, then pinching the film.) Don’t cut it too small; give yourself material to work with. Apply masking tape to the long edges.
4) Fill a large bin with warm water. A comfortable bathwater temperature (around 90F) is ideal.
5) Carefully place the film onto the water’s surface and blow out any air bubbles that might be stuck under it. Let it sit for about one minute.
6) Spray activator across surface of the water and film. Wait 30 seconds.
7) Carefully lower the item into the water. Don’t try to shift it around to apply pattern, let the water do the wrapping. Once completely submerged, break up remaining film on the surface before pulling item back up.
8) Hang your item to dry (I waited seven minutes), then rinse in lukewarm running water to remove sticky residue.
9) Check item in 30 minutes. If it’s still sticky, rinse again. Once dry, you’re ready for touch-ups.
10) You can touch-up voids in the pattern by rubbing a paintbrush in activator, then on a bit of unused film, then brushing it onto the item.
11) Let it dry overnight, then hang and spray on several coats of clear coat.
… Or just get a pro to do it
Just a few of the things dipped by Waterz Edge

Brad Dougherty is the owner and part-time operator of Waterz Edge Hydrographics (www.waterzedge.ca) in Elmvale. With 38 years of experience in automotive finishing and custom fabrication, he has pretty much perfected the dipping process.
Dougherty has seen his share of bad DIYs come into his shop as interest has grown in custom graphics and online how-to videos have popped up. He agreed to provide some advice on avoiding disaster.
Projects go south for several reasons, according to Dougherty. “Poor quality paint, wrong activator or application of, contaminated water or wrong temperature, wrong timing between procedures, and the list goes on and on.”
The right gear
DIYers are tempted to cut corners. If you don’t own a sprat gun and compressor, you might think that rattle-can paints will do. “They rarely work or are acceptable,” Dougherty says.
“The chemicals are hazardous and flammable,” he warns. “Proper protective equipment and ventilation must be used and safe handling procedures must be followed.”
Price and options
The cost of a professional job won’t break the bank either. A simple gun stock will run about $150. Turnaround time for most projects is two to three weeks, depending on complexity.
As a pro, Dougherty has access to hundreds of patterns, but the most popular are carbon fibre, camo, and skulls.
As for creating your own custom film, Dougherty says, “At the moment, no. Then price can be extremely expensive due to the quantity of film needed to make it cost effective. At present, we are working on this on a much smaller scale to apply pictures or logos to items being decorated with hydrographics.”

If you still want to go the DIY route, Dougherty recommends visiting www.k2forums.com, where experts and beginners alike exchange tips.
Leave A Comment