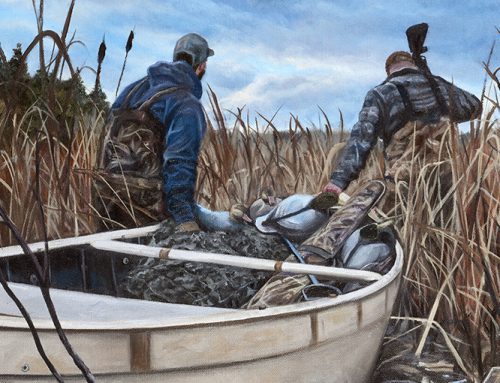
The Hunter
Most jurisdictions require a permit to bring your firearms into the country.
The process can be as simple as a form and a small fee to be paid upon arrival, or as complex as having to apply and provide significant documentation well in advance.
Your outfitter or booking agent should be able to help with this. If not, third-party agents exist in popular hunting destinations, such as South Africa.
Here are some essential tips:
Taking guns to the U.S.
You’ll need to fill out an Application/Permit for Temporary Importation of Firearms and Ammunition by Nonimmigrant Aliens (Form 6NIA) issued by the U.S. Bureau of Alcohol, Tobacco, Firearms and Explosives (ATF).
This must be obtained in advance and requires up to 10 weeks to process.
Taking guns to other countries
There’s also a little-known requirement that Canadians obtain a permit from Foreign Affairs, Trade and Development Canada. This is to temporarily export firearms, scopes and ammunition when travelling to countries other than the U.S.
Form 1042 can be completed online or on paper, and takes several weeks to process.
Although I’ve never been asked to produce this document, there’s always a first.
Guns on a plane
Some airlines require you to declare well in advance that you will be travelling with firearms.
Carefully check their website and call them to confirm.
If you’re catching a connecting flight in a country other than your destination, try to purchase your tickets such that both you and your luggage will be ticketed as “in transit” during the stopover. This way you won’t need to obtain any import paperwork for that intervening country.
However, you can’t take possession of your luggage at any point prior to arriving at your final destination. You also can’t leave the airport terminal while awaiting your connection or else you’ll need to claim your luggage and clear local customs.
Borrow or rent
Due to the complications and expense, many hunters now opt to borrow or rent firearms from their outfitter.
How to pack
Some airlines require ammo be packed separately from firearms.
When flying more than one airline, go by the rules that are stricter.
Some simply require that ammo be packed in its original box (I stash them in my hunting boots in my duffel bag), while others may require a lockable metal box.
If you’re taking two guns, divide your ammo into separate duffels so you’ll have at least one serviceable gun if one of the bags goes missing.
All airlines require firearms to be unloaded (for muzzleloaders, this means no powder charge/bullet down the barrel) and locked in a case. Some also require it to be rendered inoperable with a trigger or other type of lock.
I also remove the bolt or break down the gun as it shows that the gun is safe.
There are conflicting opinions on whether your other bags should be locked or not. I always carry a couple of small padlocks in my pocket and ask the airline agent for advice.
I don’t use camo duffels because they alert others that my bag may contain expensive gear worth stealing.
If you want to blend in, stick with neutral colours.
Flying with firearms has become more difficult internationally. When I’m taking a trip to the U.S., I’ll drive across the border whenever possible; it’s easier.
Expect airport delay

Get to the airport early. You’ll have paperwork to complete.
Similarly, leave lots of time for connections. Two hours for domestic and four hours for international is about the minimum.
As you’re travelling with firearms, you won’t be able to use the airline’s self-serve kiosks. And don’t expect the airline agent to be familiar with their rules regarding firearms.
Have a printout from their website handy to show the agent if they seem unsure.
You’ll need to sign some sort of declaration stating that your firearm is unloaded.
You may be required to undergo an inspection of your firearm, so keep the keys to the gun case handy.
Many gun cases and duffels have to go to the oversized baggage area.
Similarly, when you arrive at your destination, look in the oversized luggage claim area first. Never leave your gun case unattended, as it’s a target for thieves.
Most importantly, always remain calm, polite and courteous, even if things get complicated. Border agents have tough, thankless jobs.
Losing your cool and giving them attitude will only make things worse for you.
Remember that some agents are not familiar with firearms or hunting, and may even be opposed to such things.
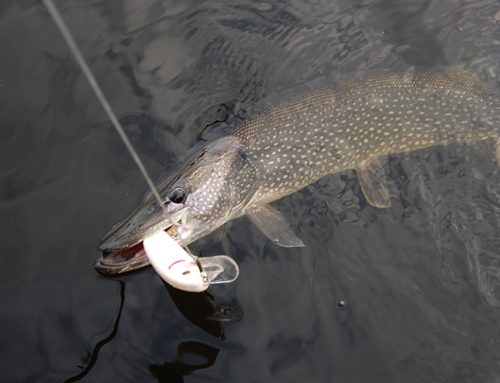
The Angler
The globetrotting angler is faced with a lot fewer complications than the hunter.
Nonetheless, some tricks specific to fishing can make things go more smoothly.
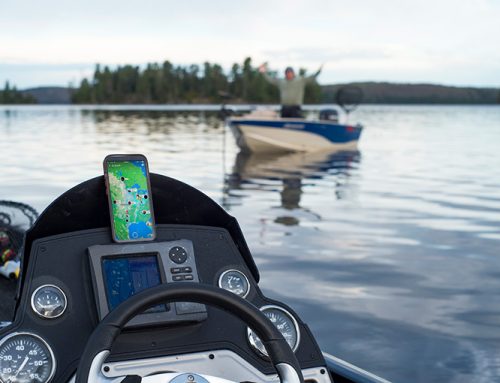
Advance preparations
Ensure that you have whatever angling licences and tags may be required or can acquire them upon arrival.
Be sure to have any vaccinations and anti-malaria medications that may be recommended by your physician.
Make sure your general inoculations are up to date, too.
Get your shots
Depending upon where you’re headed, various immunizations may be in order, often well ahead of your trip. Check with your doctor or a travel health clinic about recommended shots and about the need for anti-malaria pills
Baggage rules
Make sure you know the airline’s baggage rules for fishing equipment, particularly the maximum length of rod cases.
Make sure all your tackle is secured and no loose hooks are floating around in your baggage.
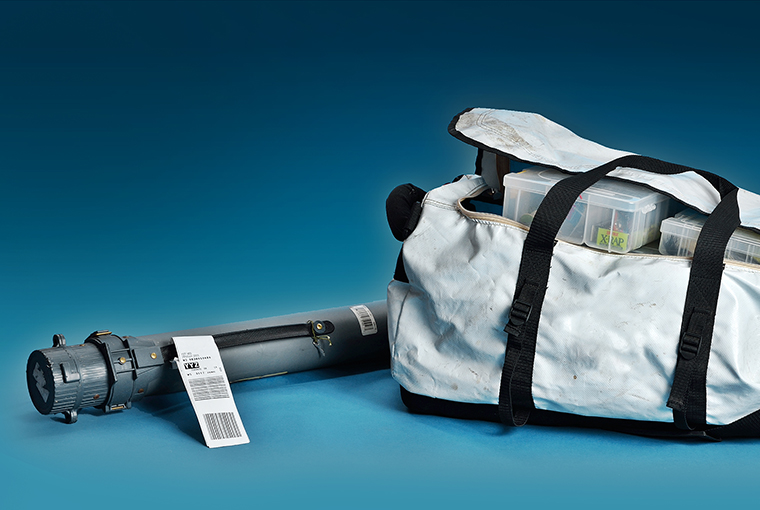
What to pack
A sturdy rod case is the most important packing item.
Affordable rod cases are available, or DIYers will find several how-to construct your own videos on YouTube.
Try to limit yourself to just a few rods. Make sure that they don’t move around in the case.
Hard and soft cases are available to carry your reels, but rolling them up in your duffel works just as well.
In terms of tackle, take only what is essential.
Chances are what you need will be provided or for sale when you arrive, saving you a lot of weight.
Lead jigs, sinkers, and other lures can be incredibly heavy.
It may be cheaper to buy what you need when you arrive and leave it behind for your fishing guide.
Flies, however, are light, so make sure you’ve tied plenty of the patterns you think you’ll need.
PACKING TIP: Lay all the rods out beside each other on an old bed sheet (reels detached), with each second rod pointed in the opposite direction.
Carefully roll them up in the sheet, then before you place the roll in the rod case, stuff the inside ends of the case with Styrofoam or old socks.
Use duct tape and a padlock to seal the case.
More useful advice
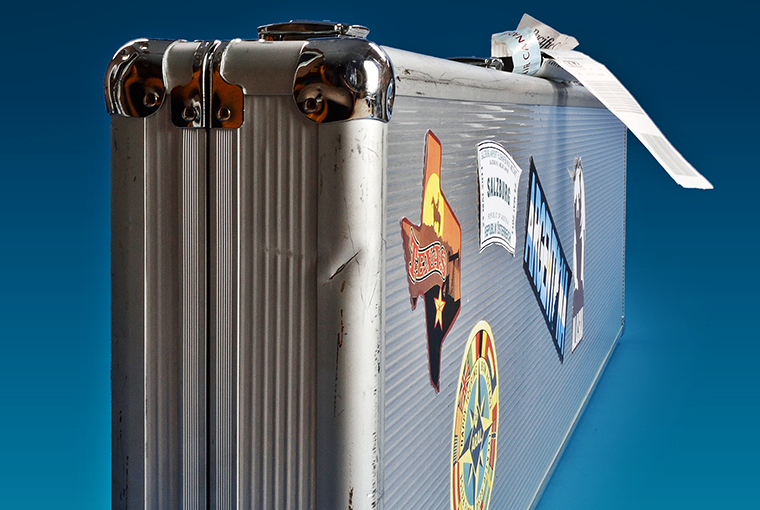
Choose the right gun case
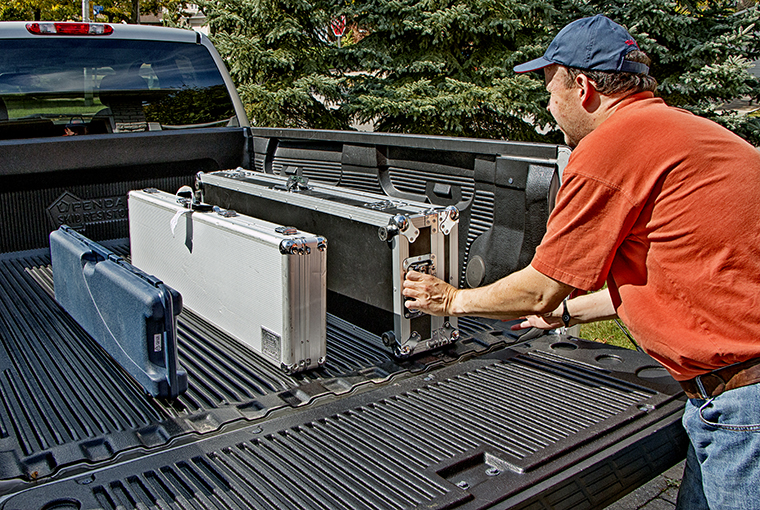
Double cases will likely incur overweight baggage fees. Check the airline’s charges to determine whether it’s cheaper to fly with one large case or two lighter ones.
Especially if you are travelling with a non-hunter who could share their luggage allotment.
Some airlines allow two bags per passenger on international flights.
Note that some airlines charge a handling surcharge for firearms.
Always take a soft case as well for use in the field, preferably one that rolls/folds up.
I try not to advertise the fact that I’m travelling with firearms as I believe this can make you a target. Not just for thieves and muggers but for anyone who may wish to hassle you in some way.
As such, I’m a fan of any case that doesn’t make its contents apparent. If your gun breaks down, a shorter case will not only ensure you aren’t oversized, but is also much less obvious.
If you’re in the market for a gun case, here are some things to consider:
- Either metal or hard-plastic exteriors are fine, but make sure that you can’t push in the sides with your hand or it isn’t sturdy enough (cases meant for ATVs are generally not strong enough).
- Ones with wheels are very handy.
- The largest/strongest case will often be over the weight/size limits set by the airlines, especially when more than one gun or other items are packed in it.
- Consider buying both a single-and a double-gun model, to give you more flexibility based on airline baggage rules.
- Some cases have built-in lock systems, while others require a padlock to be attached; regardless, always carry a spare padlock as a backup.
Lost case
If your gun case doesn’t arrive, notify the airline immediately, but use your judgment as to whether you want to mention that the lost bag contains a firearm. In certain countries, this can either expedite or delay the process (or even reduce the chances of getting it back at all).
Buy enough travel and trip cancellation insurance to cover your firearms if damaged or lost. Also consider emergency medical/evacuation insurance if travelling to remote or dangerous areas.
The return trip
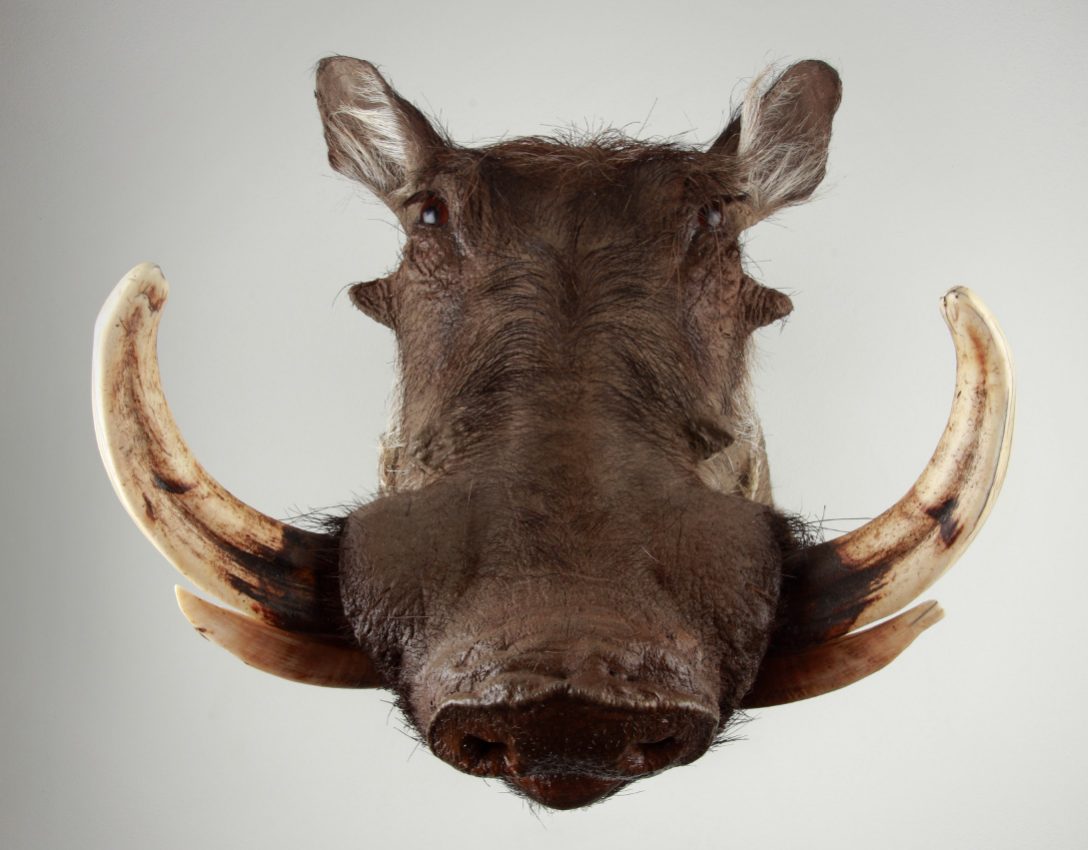
If you plan to bring home fish, wild game meat, and/or trophies:
To prevent the spread of Chronic Wasting Disease, Ontario has restrictions on the possession of high-risk animal parts from all members of the deer family that were harvested in other jurisdictions.
Familiarize yourself with them, and have a printed copy handy when crossing back into Ontario, so you can show that you’re aware of and compliant with the rules.
Raw hides, antlers and head skin must be transported in a sealed container (always carry duct tape). These parts must be clean of all other tissue and taken to a tanner or taxidermist within 5 days of returning to Ontario.
Tanning techniques, chemicals and processes used in foreign countries may not be up to Canadian standards and finished mounts may not stand up to our climate long-term.
Make sure the hide/cape is properly scraped and either frozen or salted, and any skull/skull plates have been thoroughly cleaned of all brain and other tissue (boil or sprinkle with Borax, if possible).
I’ve found that wrapping/ taping the skull plate of a deer rack so that only the antlers (cleaned of all blood) are visible makes it less likely to be inspected.
Have your meat properly butchered, de-boned, frozen, wrapped and labelled (including species and jurisdiction, and get a receipt from the butcher as proof).
Rather than paying to take an empty cooler with you, it may be cheaper to simply buy a cooler locally after your game is down. Or have your meat shipped home frozen.
Having taxidermy done locally might be easier, but is not necessarily cheaper. Overseas shipping charges are based on weight and volume.
If shipping raw trophies home to your taxidermist, get separate laminated address tags from him for the head and hide and attach them yourself.
If bringing the raw trophies home with you, consider having them prepped by a local taxidermist to lessen the chances of difficulties at the border.
When going through customs, have all your paperwork in order when you reach the booth. You must declare that you are travelling with firearms, even if not asked. Same goes for any other special items you may be taking/bringing back. Always declare everything.
Tips from the experts
Mike Miller (Angler & Hunter Television)
- • A recurve crossbow is often the ideal choice for air travel hunting trips. No paperwork or registry issues, no ammo, and it can be broken down and packed in regular luggage or a hard gun case.
- • Basic selections of spoons, spinners, and jigs can catch most anything that swims.
Carry-on musts
- • Long underwear make great pajamas until you can access your checked baggage.
- • Extra wool socks and a couple of plastic bags can turn casual footwear into makeshift waterproof hunting boots.
- • Dryer lint and waterproof matches are great for fire starting, should you get into trouble.
- • Gravol is a must on any commuter or float plane.
Jim Shockey (Jim Shockey’s Hunting Adventures)
- • If hunting with a muzzleloader, arrange in advance to get your powder and primers locally, or send them ahead. You can’t fly with these items.
- • When booking multiple-leg flights, try to book with the same airline, or the same family of airlines, as they’ll have agreements about luggage. Otherwise, if your luggage is lost/delayed, each airline may simply blame the other and offer little assistance.
- • Frequent and business class flyers usually get their luggage tagged with priority handling stickers.
- • Take-down firearms that fit in a smaller and lighter case can save on baggage fees.
- • Use a backpack as a carry-on. Include a set of hunting clothes and boots. You can borrow just about anything but boots.

Leave A Comment