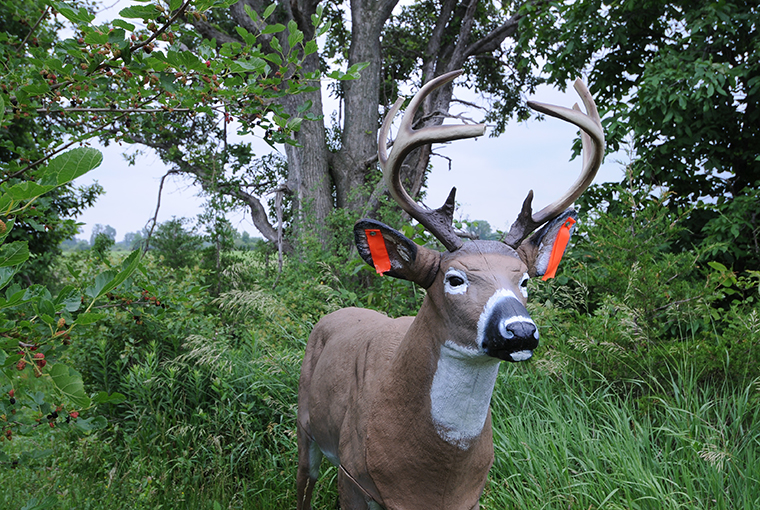
You can make your modest whitetail decoy far more appealing with just a few simple modifications. Here is what I do to seal the deal for enraged bucks.
Materials
- Tail wagger deer kit (tail-wagger.com)
- Tent pegs (metal or plastic)
- Mesh knapsack or shoulder strap
- White paint and small brush
- Four C-cell batteries
- Trail camera (optional)
- A large 3⁄8” U-bolt with four nuts
Tools
- Hacksaw blade
- Sandpaper
- Small round file
- Wrench
- Small screws
Fix 1: Tape the ears
For safety, should a wandering hunter come by, add six-inches of orange tape to each ear with a small screw. A breeze will also create ear-twitch-like movement.
Fix 2: Install a tail wagger
My tail wagger kit was about $50 US, plus shipping. A realistic tail is included. The battery pack can be secured inside the belly.
• Drill two 3⁄8-inch holes in the rear above the tail and sand any rough edges. These will be used for a U-bolt that protects the fragile tail wagger during transport.
• Drill two more holes lower down. One for the tail wagger swivel pin, and the other to hold the wagger to the decoy
• Install motor inside the decoy securing it with a 3⁄8-inch bolt. Don’t bend the swivel pin as you thread it through the hole.
• Add white paint to expand white areas around the tail and underbelly. This helps the moving tail stand out. Paint the U-bolt. After paint has dried, use scent-free wipes to remove scent.
Fix 3: Secure the feet
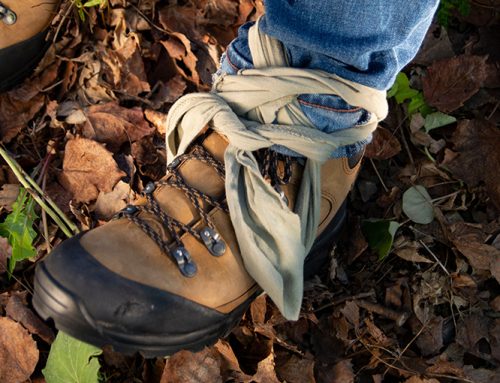
Tie cords around each leg at the hoof so tent pegs can be used to secure the decoy in the field.
Fix 4: Trim the antler
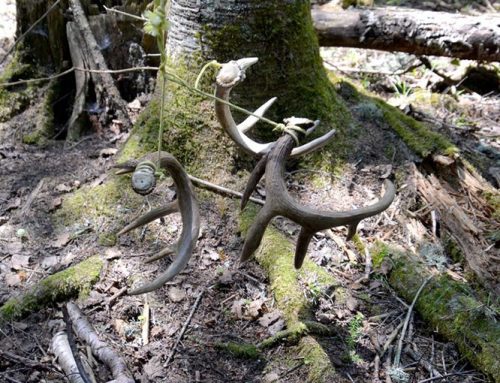
Trim two to four inches from the antler tines and sand the rough edges. Smaller antlers entice a larger buck.
Fix 5: Add a camera
A camera is just for fun. You never know what will show up. I install a camera on the deer’s forehead and set it to motion-detect option.
Originally published in the Nov.-Dec 2023 issue of Ontario OUT of DOORS
For more DIY projects, click here


Leave A Comment