
I love white-tailed deer. That includes reading about them, discussing them, looking for them, and watching them. Whitetail hunting and anything related are very special to me. So last year, I embarked on a small project to transform my land into a more effective hunting property by making it more attractive to deer.
My interest in baiting deer has waned in recent years. While it’s an effective way to bring deer in (especially when hunting near others), I don’t find it as thrilling as the sight of a buck charging across a field responding to a call. Baiting can also make deer more nocturnal.
So, I opted for a different approach, focusing on enhancing deer habitat through alternative and potentially more sustainable methods.
I made plans for small food plots, mineral sites, and water sources to draw deer to my relatively small property. Here’s what I learned.
A background on my deer habitat
I live and hunt near the Minnesota border and have experimented with food plots over the years with success. Despite a decline in whitetail numbers, we had a thriving food plot more than a decade ago. Deer numbers have sharply declined in the area around Thunder Bay as a result of some harsh winters and apparent increase in predators.
Starting a food plot for your deer habitat
Before starting my land rejuvenation efforts last spring, I connected with Jeremy Innanen of Innanen Outdoors, an expert in building trails, food plots, and habitat improvement. We walked my property, discussed whitetails, and devised a plan.
We identified the best location to start — a large clearing (approximately 50 metres wide) that I had hunted for years, connected by a trail leading to a smaller clearing. There is a long-standing active scrape line along this trail, and in the small clearing. The small clearing is unique, with both openings and plenty of cover, including an island of trees with an almost circular narrow clearing around it, so the deer can feel sheltered and secure.
Innanen suggested planting a plot of brassica (in the cabbage and mustard family) to provide forage, and clover in the smaller, tucked-away trail and clearing, which he called the “kill plot.”
“Clover is easy to plant, maintain, and upkeep, requiring less fertilizer and lime to get established,” he explained. “You don’t need to do much to the ground beyond roughing it up a little to help things grow. Clover is easy to get going, and will help with soil dynamics, bringing nitrogen into the soil.”
Innanen suggested spending an afternoon with a weedwacker and rake in the small plot. “Cut it down, rake everything, break up the surface and clover will grow. Look at a clover mix — I like mixtures of alfalfa, clover, and chicory. With clover, you don’t need much seed, it is cheap, easy, grows well, is shade tolerant and attracts wildlife.”
Build your main plot nearby, and the kill plot becomes a separate, sheltered food source. Deer may cautiously approach the small plot before committing to the larger
one, creating a transition area where they feel safe. The larger plot provides substantial forage in the fall when other food sources are limited.
“We want volume in the fall when other food sources are limited, deer will look for what is green, what is viable, and with things like brassicas, it will attract deer,” Innanen said.
May: ground prepping your deer habitat
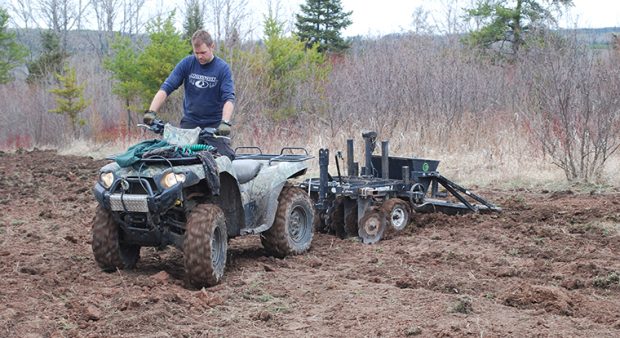
Innanen likes to start early, discing in May. Cut the grass prior to starting, to help break through the surface. If you have a dry period, wait for a little rain. After an initial disc, disc again after a couple weeks to knock the grasses down.
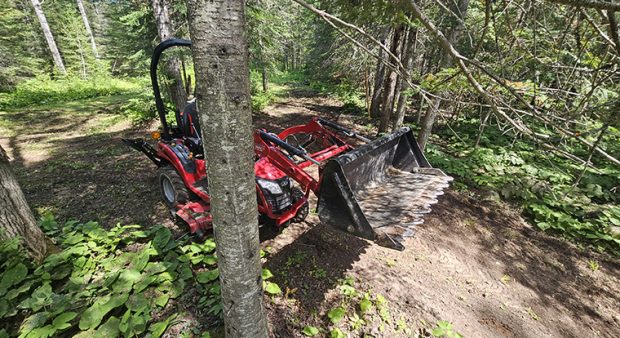
The large area I prepped had been meadowy grass for years, where breaking new ground was challenging. Once you have broken ground, it gets easier each year. I also used a tooth bar on my small tractor to scrape the surface, removing vegetation and roughing up soil. If you don’t have an ATV or tractor, there are options. Rototillers take some effort for a larger area but do a good job of breaking new ground.
Alternatively, contractors like Innanen can provide the necessary equipment. For someone looking to start from scratch, this may be a good option. The work required in the following years will be exponentially less, and it may just give you the start you need. Then clover plots can be prepared and planted with hand tools and hard work.
July: plant
Ideally, planting should be done in the last half of July. “Some seeds may say you can plant into the end of August. Don’t do that, at least in the northwest. And if it’s dry, wait for rain, planting right before that,” Innanen said.
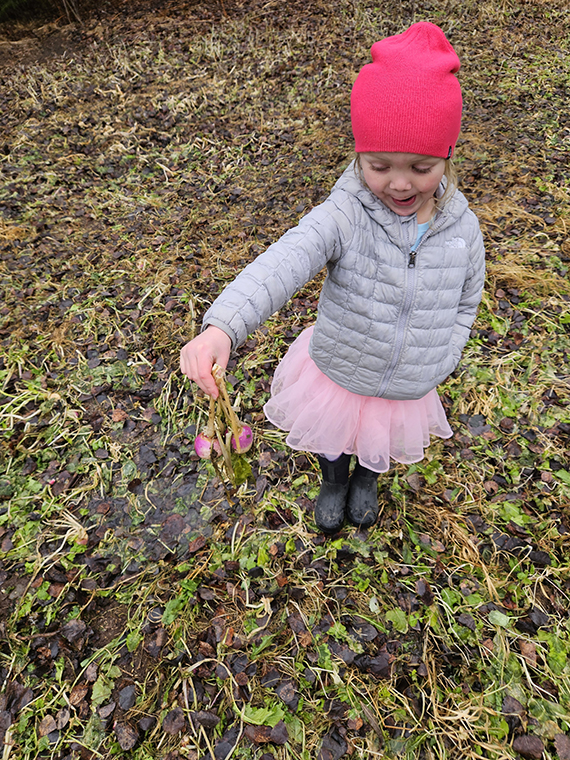
I planted two clover mixes in my small plot, and two brassica mixes in the main plot. Some took better than others, and with better preparation I likely would have seen better results. The deer, particularly fond of the clover, spent significant time grazing on it. The brassica plot yielded decent growth, with deer munching on the broad, green leaves later in the fall and plucking turnips from the ground.
November: hunt
Once the first frost hits, it does something to the sugars in these plants, and deer hit them hard. Even on this small plot, they spent a great deal of time there, and every time I went in it was depleted even more, with the turnip tops left lying around with teeth marks. The turnips didn’t grow as big as some I’ve grown in the past, and this is likely due to improper pH and limited rain, but it still produced results. It was a refreshing change to see deer regularly visiting the plot, with without having a large pile of corn as the main draw.
Mind the minerals
Minerals play a crucial role in enhancing your property, according to Innanen. “Mineral sites are invaluable for attracting and holding deer. They last a long time, are inexpensive, and are one of the easiest things to establish on a property.”
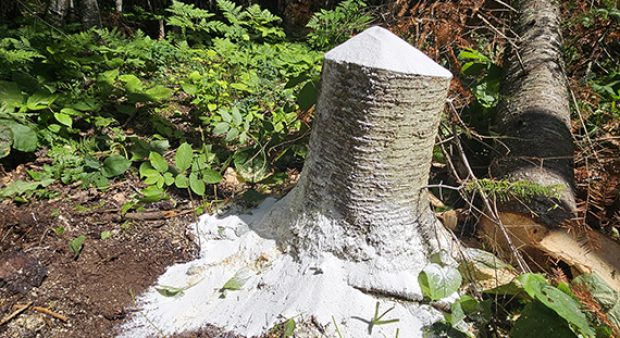
Use the network of trails, putting one type of mineral in one spot, then 100 yards later apply another type of mineral, further down the trail have another one. Do this on the trails leading to the food plot. I have some long-term mineral sites on a family property, that started on large, old stumps, and have been active for 10 or more years. They’re now large holes in the earth, with exposed roots (see photo below).
As for deploying minerals, Innanen puts some on old stumps and some in holes. I do a bit of everything.
Mineral sites also take some time to establish themselves. Our long term, highly successful ones, had very little activity for the first several months after they were first set up.
Creating mineral sites and food plots can be a great way to increase the attractiveness of your property. With some work, you can provide supplementary shelter, food, water, and minerals for your deer; it will both attract and hold deer, while contributing to a healthier deer herd. Does will want to stay there with their fawns, and bucks will be drawn in by the visiting does.
Innanen is often asked if food plots work. His response, “Of course they do. It’s a natural food source. I don’t have to go in there with feed, causing a disturbance. It is there for them. They have food, cover, minerals, all the things they need, and once established it almost looks after itself.”
Mistake #1 : A late start
My first mistake was not beginning the project sooner. While there wasn’t a rush to plant, I procrastinated. I did some preparation and then life intervened. I ended up rushing, getting seed in the ground at the end of July. Still within the planting window, but my prep could have been better.
Mistake #2: Skipped the pH test
I didn’t do a pH test. Despite this, the deer came and liked what they found. Achieving the correct pH balance is crucial, especially for brassicas, as Innanen pointed out.
The buck stops here
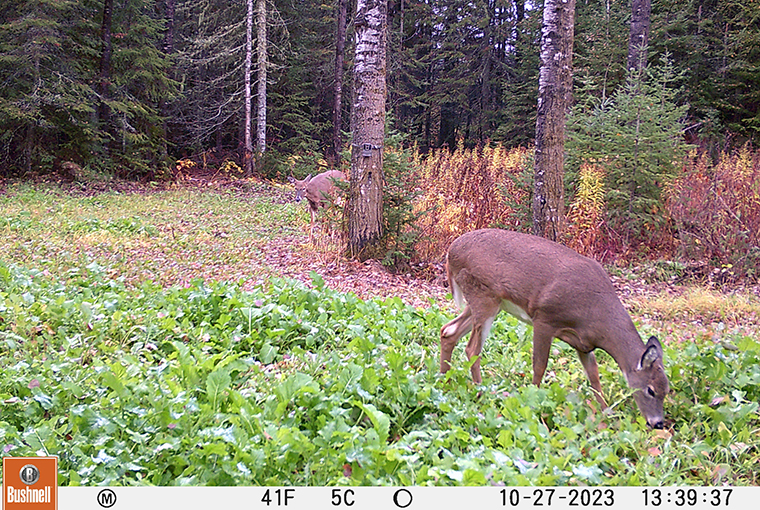
Place trail cameras on your plots and on trails leading to them. Bucks may not necessarily step into the plot, especially during the rut. Intercepting them on trails is your best bet. If you start to see patterns, hang a stand on a trail leading to the plot, not necessarily overlooking the plot itself.
“I like to set up a bunch of cameras heading to my plots, to see where those deer are coming from. Maybe I can pick off a deer before they head into the plot,” Innanen said.
Monitoring patterns via cameras can help you strategically place stands for a better chance at a successful hunt.
Add watering holes to your deer habitat
Since I have no significant natural water nearby, I also created several water holes on my property.
See “Lead a deer to water,” pg. 34, July 2023 issue
Originally published in the Spring 2024 issue of Ontario OUT of DOORS


Leave A Comment